Wednesday, September 28, 2011

Concept image of the Kuda with the fiberglass hood off. The hood will be secured via four Aerocatch fasteners, and I'll be putting two extra pins on the rear edge of the roof, in order to latch the hood as shown when it's removed from the front.

Aerocatch fasteners. Pretty cool little things, very well engineered.

Lower Control Arms

Reinforcing the lower control arms. First up they got stripped of bushings and bump stops, then sand blasted clean.

Reinforcing plates from Firm Feel were welded on the underside.

As my car never came with a front sway bar, I had to weld on the required brackets.

Done. Ready to be cleaned and powder coated.

Sunday, September 25, 2011

Test fitting the K member on the motor.

Saturday, September 24, 2011

Test fitting the new fiberglass fenders and hood along with the new wheels and tires. The fenders fit better than I was expecting from race-weight fiberglass parts. Nice to see the cuda looking more like a car too.

Thursday, September 22, 2011

Kuda components

Saturday, September 17, 2011

Installing the new Milodon road race oil pan, a very nice part.

Windage tray and pickup.


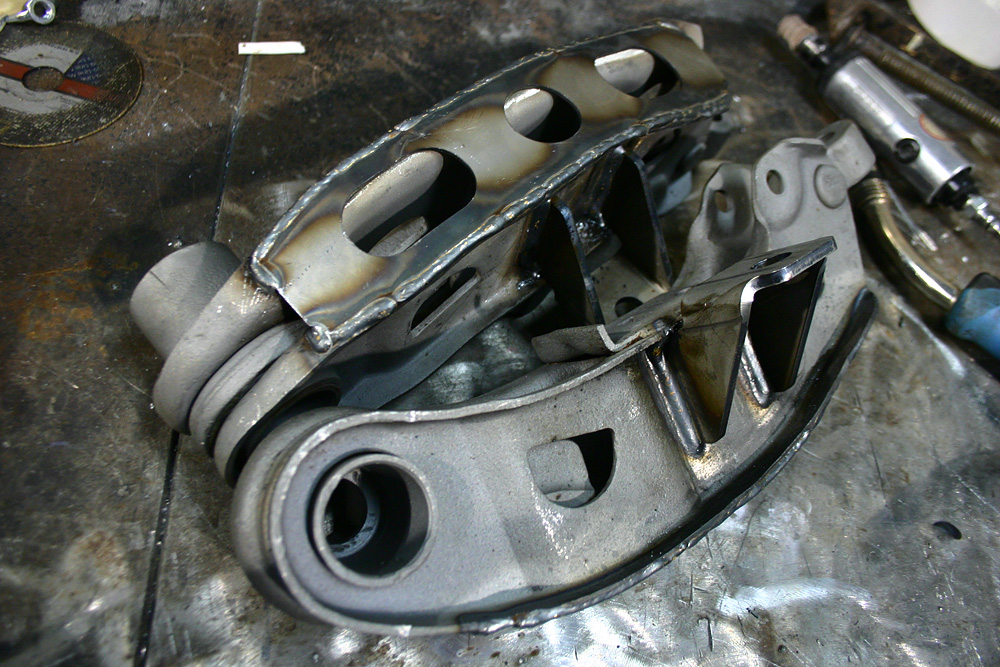
Reinforcing the factory K member. The skid plate will be welded in after I test fit the big tubular sway bar that has to fit under.

I welded all the seams (twice) and rewelded the factory welds (some of which were incredibly shabby, but that goes for the rest of the car too). I also added a Firm Feel gusseting kit.

It's always nice to weld new steel to clean metal. Welding the seam wasn't as nice due to all the oily crap between the metal which makes for shitty looking welds (the oily crap you can see here is just anti weld-spatter spray though, I sandblasted and ground the K member as clean as I could before I started welding).

Saturday, September 10, 2011

Rollbar work

I made a jig so I could work on the rollbar while the car is away from the workshop. Makes a tricky job a little easier, notching tubes can be tough on the brain! Especially if the joins are to be TIG welded, as then it's even more critical that the tubes fit tightly.


Once I had one of the backstays fitting right, I traced the scallops with paper and transferred the cut line onto the other backstay tube. Worked great, saved a lot of fiddly work. I've never done this stuff before so am pretty slow.

Once I had the backstays finished I mocked up the diagonal member in alloy. I made a rail on the jig that the tube could sit on so I could figure out the scalloping easier.

More parts

The makings of a machine...

Monday, September 5, 2011

The car is a trailer again as space was needed in the Weta studio.

 Some of the work done lately includes reinforcing the rear chassis rails as the inner face was pretty thin with age. I sandblasted then primed them.

I cut plates out of 1.6mm steel and had a big swage put through the middle for rigidity.

Welded up, with the bottom edge ground smooth for a tidy look.

I also reworked the outer rear wheelhouses. My old tires used to rub in this area as the factory wheel houses curved excessively inwards.