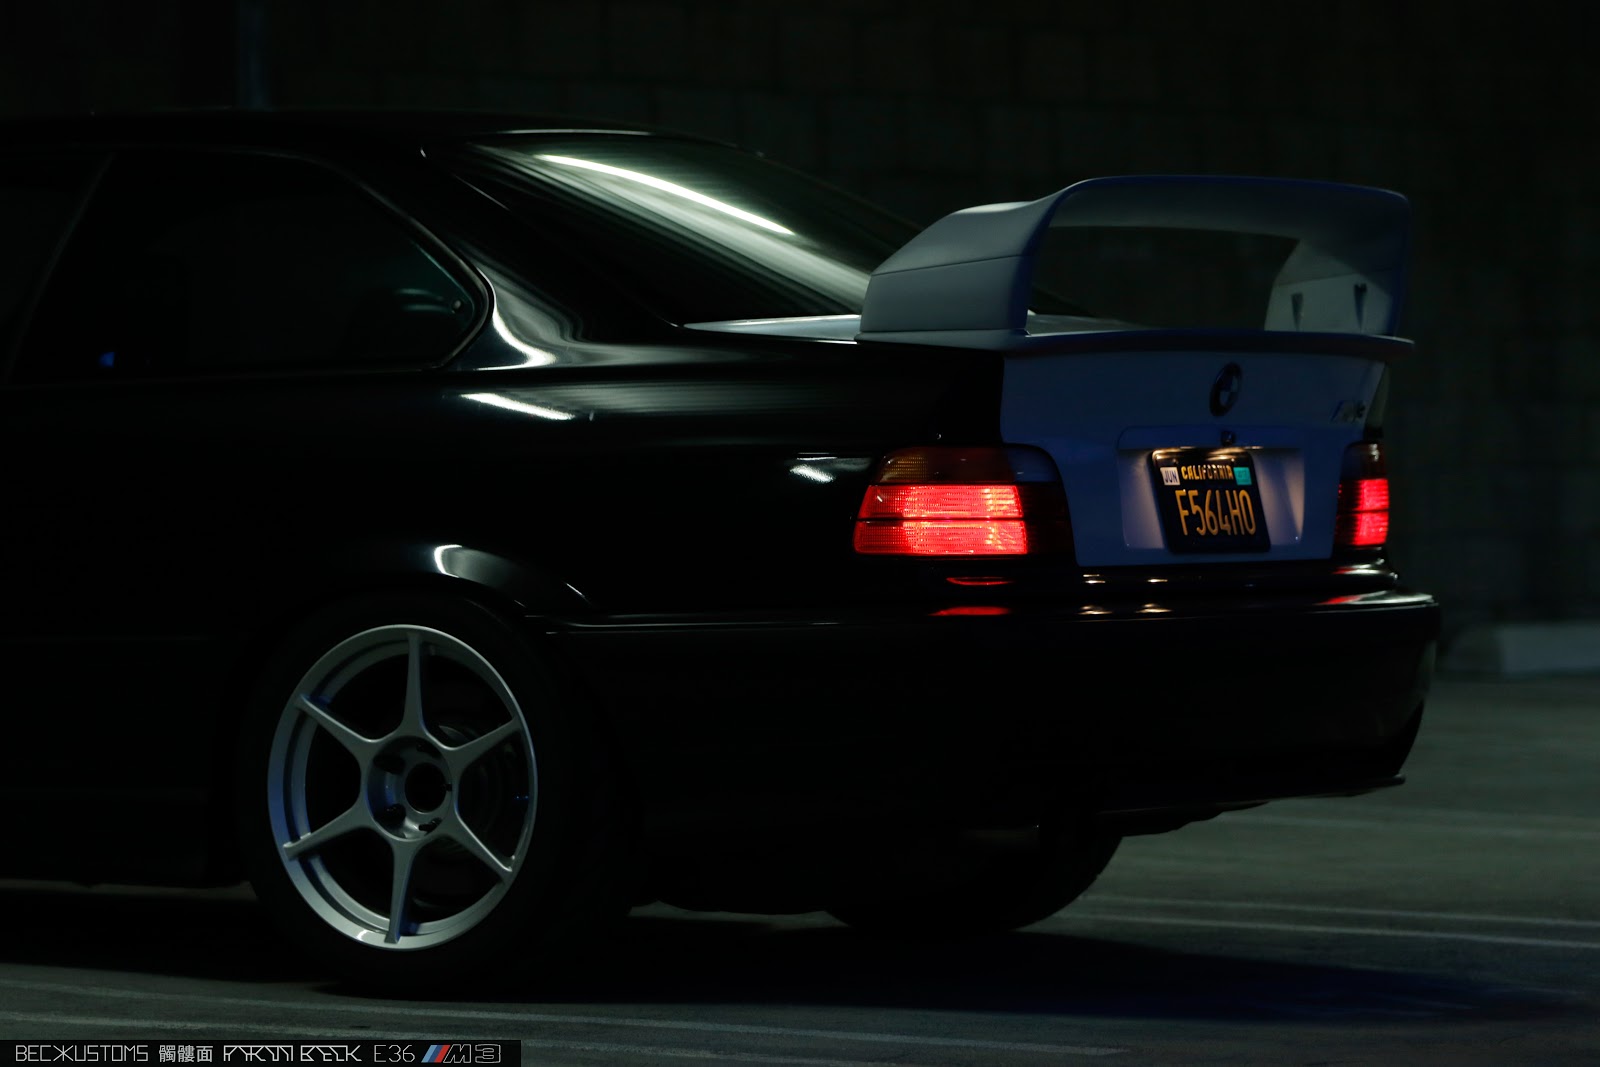
The bottom corners of both doors needed some repairs. They had average old rust repairs, and rusty frames underneath.
I cut the rusty stuff out, and patched up the frame...
Then made some patches to fit.
Welded them in and ground the weld.
Then I folded the edges over and welded them. A quick coat of primer and the doors are good for now.
With those repairs done, and the quarter lights shaved, I can now do the final fit up of the quarters!
Monday, May 13, 2013
Thursday, May 9, 2013
Panel beating
First up I cut the stamped section out and then cut a nice patch to fit the hole.
I was pretty happy with this patch, it fit perfectly and matched the compound curves of the panel exactly. I knew it would warp from welding but it was fun to try and get it fitting perfectly.
I tacked it in with a MIG welder.
The MIG tacks were ground flat then I very slowly and carefully TIG'ed it in fully. It still warped all over the place. As this sort of thing tends to do...
That's when you start panel beating! I was extremely lucky to get a master class in panel work by Rex, a shit hot metal man and all around good cunt from Junior's. He massaged the patch on one of the quarters, so I could try with the other. This is the other, I got it 90% there and he finished it. It was pretty impressive to see how a warped panel could be smoothed using simple tools into a clean shape with nice and even compound curves.
Here is the finished panel with only a light coat of etch primer on it. Pretty sweet. Proper hammer and file, 'metal finished', panel work. No filler needed here!
The tools. That 'slap stick' (the metal bar second from the right, like a bent file) was a revelation! Dolly low spots with it and they come right up. I'm sure learning some good stuff at Juniors.
Wednesday, May 1, 2013
Wednesday, April 24, 2013
'Cuda at Junior's
I was feeling a bit out of my depth fitting all the new panels and trying to work out where to start and what to start with. Nothing fits perfect and pretty much everything will need tweaking to get the best result. Fortunately Junior and his rad team at Junior's Kustoms Rides have very generously allowed me to clutter up a corner of their amazing workshop with my old cuda and let me work on it there. There's some talented folks around, and I hope to be able to pick their brains and achieve a much better result than muddling along on my own in a cramped garage. Plus it's pretty inspiring to be able to check out the seriously badass builds there. Huge thanks to Mark and the crew!
Thursday, April 18, 2013
Test fits
Everything seems to roughly fit pretty well, but holy shit it's going to be lot of work to get everything straight and even!
Hinge rebuild
Sunday, April 14, 2013
iron oxide exorcism
I've patched up the rusty bits that the sandblasting exposed. The upper door hinge/A-pillar sections on both sides needed to be repaired, there was quite a bit of rust between the layers of steel. Here's an image showing the repair of one side. There were a couple other little sections to repair on the body too, but that's pretty much it! Rust be gone.
Wednesday, April 10, 2013
Painting Timelapse
Here's a little timelapse video I shot while painting the car yesterday. I put 4 coats of paint on (only one coat shown in the video, the first black top coat going over the grey DP40 primer sealer), and it took all day! Huge thanks to Dave at Classic Panel and Paint in Newlands for allowing me to use his booth.
Sunday, April 7, 2013
Seam sealed
Urethane seam sealed the various seams, welds, and repairs, inside and out. Not a very fun job! But vital for long term rust prevention.
I made a little hose extension for my caulking gun so I could seal the inner seam where the cowl meets the firewall. Worked beautifully and I got a great seal along the whole length of this tricky area.
Wednesday, April 3, 2013
Sandblasting and painting and sanding and sealing
Here's the car as it looked yesterday morning, strapped to a truck, on it's way to the sandblasters.
The weather wasn't looking good, despite the forecast being the opposite.
Getting the fresh coat of primer I put on blasted off to silvery metal that paint will stick to like nothing else. I think the blasters appreciated the rotisserie.
The blasting ate through a few places where invisible rust had been eating away in layered sections. So looks like a few more little rust repairs to do, just when you thought you had got em all!
As the weather was looking shit, I painted a thorough coat of epoxy urethane primer on the shell at the blasters. Cheers to Matt and his rad team at Steam and Sand for use of the space and letting me close up after hours when I had eventually finished!
This morning it was trucked to Classic Panel and Paint in Newlands so I could use Dave's booth to paint it (cheers Dave!), but sanding the shell took half the day (you have to sand the primer if it sits for longer than 8 hours without being overcoated). That sucked. And seam sealing all the joins and lap welds isn't much fun either...
Some of the paint needed to paint a car... You need a fair bit more than this too. Don't ask how much this shit costs!
Tuesday, March 26, 2013
Stripped fish
Just got the shell back from the dip strippers, and it's nice and clean. The stripping process also removed all the panel bond that had been used to fix the cowl on the firewall after some rust repairs, so I could stitch weld it on to match the rest of the car, which I'm quite happy about. 100% stitch welded shell now!
So nice to see the shell without all the patchy old paint, primer, surface rust, etc.. Next step is to seal the internal cavities and spray a coat of primer on the whole thing. Something for the sand blasters to blast off. Sand blasting as well!? Overkill? Yes, but I have my reasons!
The doors and deck lid were also dipped. They got deoxydine treated and sprayed with two coats of epoxy urethane primer, and two coats of DP40 primer sealer. The internal cavities were also sprayed with a rust proofing paint that creeps into all crevices, same as the shell will get. Everything will also get cavity waxed when it's finished getting painted too. I hate rust.
Monday, January 21, 2013
Underside mockup
Finished the routing and mounting of the fuel line, hand brake cables, and brake line. I've welded nuts onto the body to allow easy attachment of the various clips and clamps. A little fiddly, but worth it for the clean and solid result.
Wednesday, January 2, 2013
2013, and my not so virginal 40 year old...
I've been in holiday mode lately, but a bit of work has been done. Wrapped the tail pipes with some left over DEI titanium wrap. This stuff looks rad, it's a pity it'll be hidden under the car.Made an alloy bracket that bolts to the car to house the 4150 Pelican case. One in the rear seat area for camera gear etc, and I'll make another bracket for the orange one in the boot for tools.
Plasma cut 3mm alloy brackets hold the case nice and snug, and the case can be locked closed and to the brackets. I'll powdercoat these black.
I've been doing lots of seemingly endless little things to the body in preparation for sand blasting or dipping or whatever combo I decide on for cleaning up the shell. Mounting provisions for fuel lines, brake lines, proportioning valve etc. This year will be busy if I want to get the car done by the end of it!
Thursday, November 22, 2012
Finished Exhaust
Final fit up of the complete exhaust. With all the mounts in place it is very sturdy, and has almost no movement when you yank on it.
Welded stainless nuts onto the dump pipe flanges, for ease of removing and installing the caps. I love the golden colour stainless goes when welded. I'll be fabricating thin stainless sheet metal guides onto the caps that smoothly divert the exhaust flow from the 3.5" pipes into the 3" x-pipe.
The whole thing is pretty much invisible when the car is the right way up. Now I should be able to run the car nice and low!
Welded stainless nuts onto the dump pipe flanges, for ease of removing and installing the caps. I love the golden colour stainless goes when welded. I'll be fabricating thin stainless sheet metal guides onto the caps that smoothly divert the exhaust flow from the 3.5" pipes into the 3" x-pipe.
Tuesday, November 20, 2012
latest exhaust bits
Exhaust is pretty much done, at least for now. The flange at the header end will be welded on once the engine is in the car.
I added some stainless bungs for O2 sensors to help with tuning.
There are 4 mounts to the body, with 10mm stainless hangers and polyurethane isolators. I braced the floor with plates welded to the body and welded 10mm nuts to the other side to make mounting and adjusting the exhaust easy. The stainless plate on the hanger has a bunch of adjustment possible. The rubbers are pretty solid, you don't get much movement yanking on the exhaust, so should be good to go.
This is one of the brackets for the rear mounts near the end of the exhaust. Again there's captive nuts welded on and hanger brackets with adjustment.
The mild steel tail pipes got sandblasted and will be sprayed with black high-temp paint.
Sunday, November 11, 2012
Road Trip
Finally got a chance to edit some footage I shot from a road trip back in 2010.
Music: 'Oh Fair Moonlight' by Fly My Pretties.
Wednesday, November 7, 2012
Subscribe to:
Posts (Atom)


