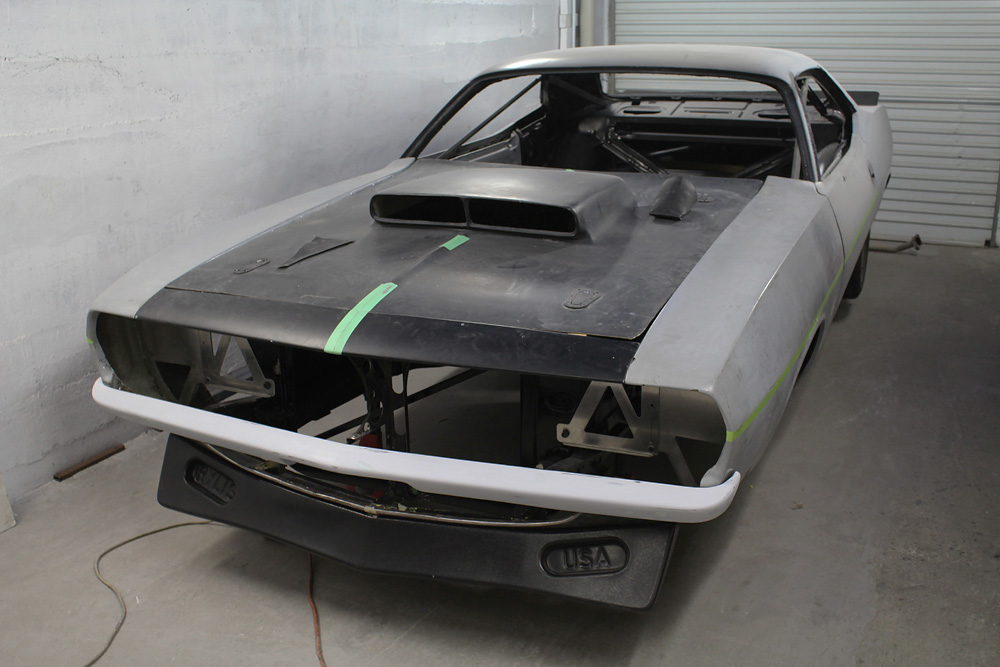
Late last year I was feeling pretty bummed that the car wasn't gonna be going for summer, so I decided I'd put it together as the bare minimum and give it a shakedown run. On a closed road and controlled conditions of course, any evidence to the contrary is more amazing special effects from those crazy guys at Weta™.
To begin putting together the drivetrain I first bolted the clutch on.
Next came the bell housing and clutch fork, release bearing, etc. Then the fresh new A833 four speed from Brewers.
I drilled and tapped the intake for a vacuum fitting for the PCV valve. The Holley ultra HP carb I'm running doesn't have any vacuum ports, and the other one on the intake was needed for the brake booster (just for the shakedown. I'm currently fitting the new Hydroboost kit now). I'll be fitting an air-oil separator on the PCV vaccum line.
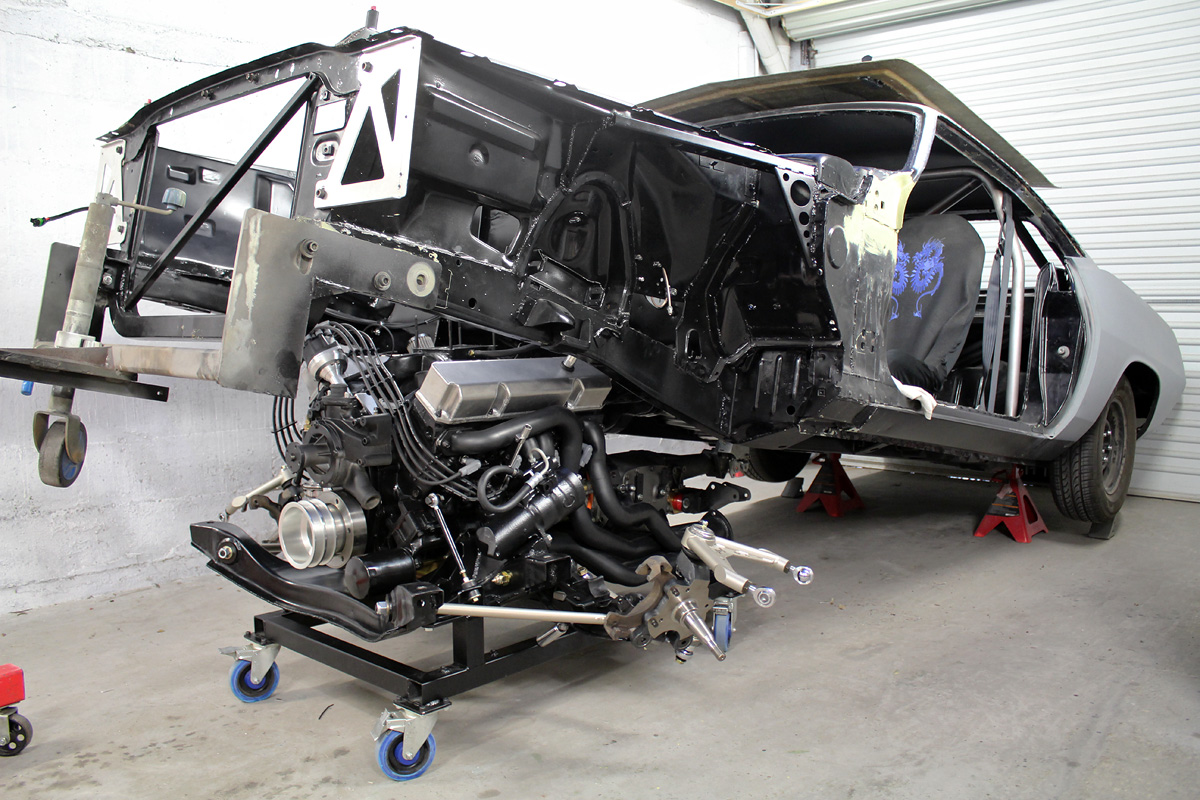
The great thing (well one of them anyway, this thing is awesome) about the drivetrain dolly is that the whole front cross member, suspension, and steering gear can be fitted, and easily slid underneath the chassis to fit it all to the car. Plus it looks rad to see the whole drivetrain and suspension together like this.
Ready to go in the car.
Just like this. Piece of cake. There's about 5mm clearance either side at the tightest fit though, so a lot of care has to be taken when dropping the body down.
Then the K member can be bolted in, along with the gearbox cross member, and the lot is fixed in. The upper control arms get bolted in and the brakes etc fitted next.
I wrapped the temporary fuel line as it passed fairly close to the header. This shakedown run was a lot of fun as it gave me a chance to test out various routing, fitting, and fixing options for various parts like this. Lots of little mini projects, each thing a little challenge to see how best to do it. I did go pretty overkill on a lot of things, but I think this is just the result of wanting to do a good job and test things out.
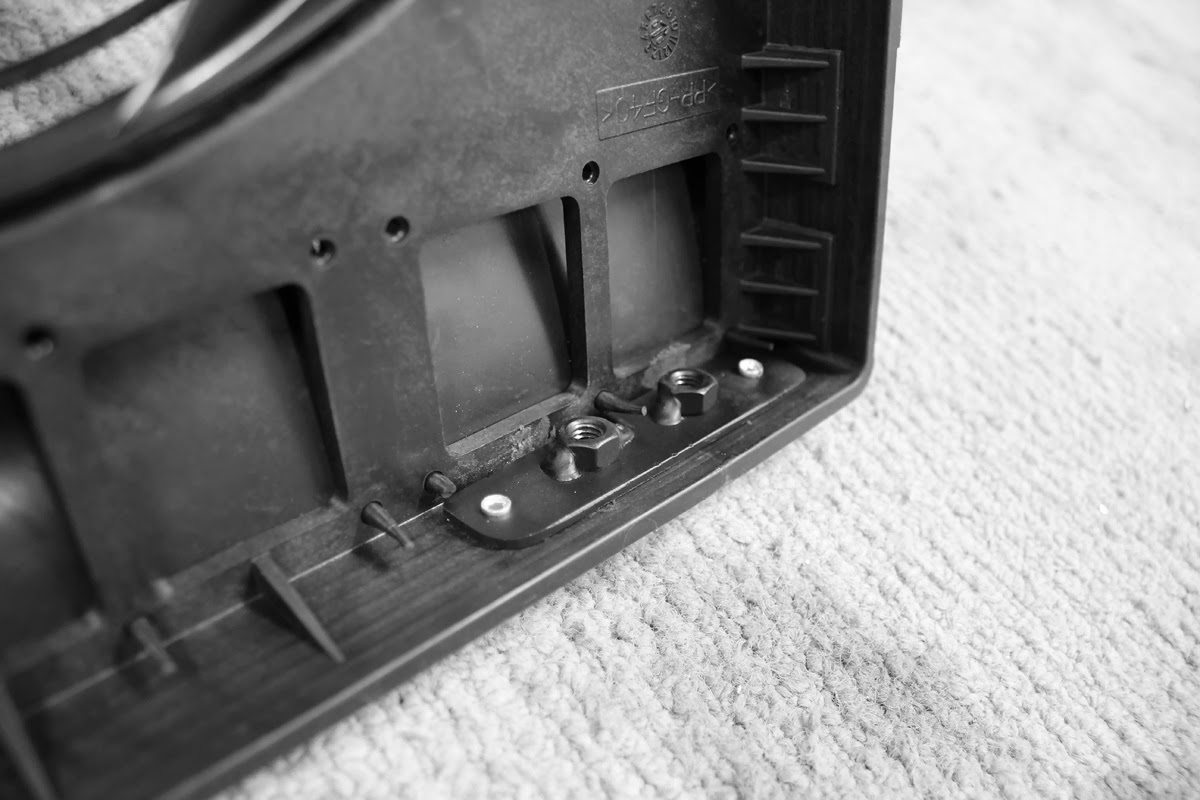
Lots of things worked out so well. For example the temporary bracket I made to mount the battery happened to perfectly fit the nuts I had welded to the body in the rear seat area
for fixing a pelican case to.
Here's the mighty fuel tank. No it doesn't last very long. This bracket also happened to perfectly fit the two holes I had drilled
for mounting the battery box to! I fitted a vent tube to the cap and fuel filter to the fuel line. Everything was well fixed and tied down, and the tank was very secure.
The exhaust consisted of the old 2.25" mufflers the car had when I bought it. These were bolted to a pair of adapters I made from a few step down tubes, and bolted to the headers. It's quieter than open headers, but still pretty damn loud!
The electrics and gauges consisted of the control panel I built
for the run stand attachment for the drivetrain dolly. It's all you need! And it's always fun to have a push button start. The only other bit of wiring that the car needed was for a brake light.
Safety first!
It was a lot of fun to put it together like this for the shakedown, and I'm stoked with how the car felt to drive. Initially it was a bit anti climatic, as the motor was fresh and I took it pretty easy, keeping rpms below 3 and very occasionally 4 thousand rpm, and no full throttle. Plus its got the old 2.76:1 open diff in it, and first gear in the cuda is nearly the same as third in my Ford Laser daily! So that with the
heavy temporarily unassisted factory steering and pretty average brakes, made the car feel a bit dull and heavy.
The no full throttle and low rev limit didn't last long though... The motor pulls hard and sounds awesome. And I can now say with confidence that this car will be a lot of fun when the handling, steering, brakes, and diff are up to their final specs. Which is what I'm working on right now!