

Tuesday, April 3, 2012
Sunday, March 25, 2012


Saturday, March 24, 2012
Seat brackets

Friday, March 16, 2012
Lately...


Sunday, December 11, 2011
Steering Quickener


Thursday, December 8, 2011
Seems like not much has happened on the cuda lately, not much blog worthy stuff anyway. But here's a few random pics from the last couple of weeks:
 Mocking up the steering column, steering wheel, pedals, seats etc to work out the seat brackets and steering quickener.
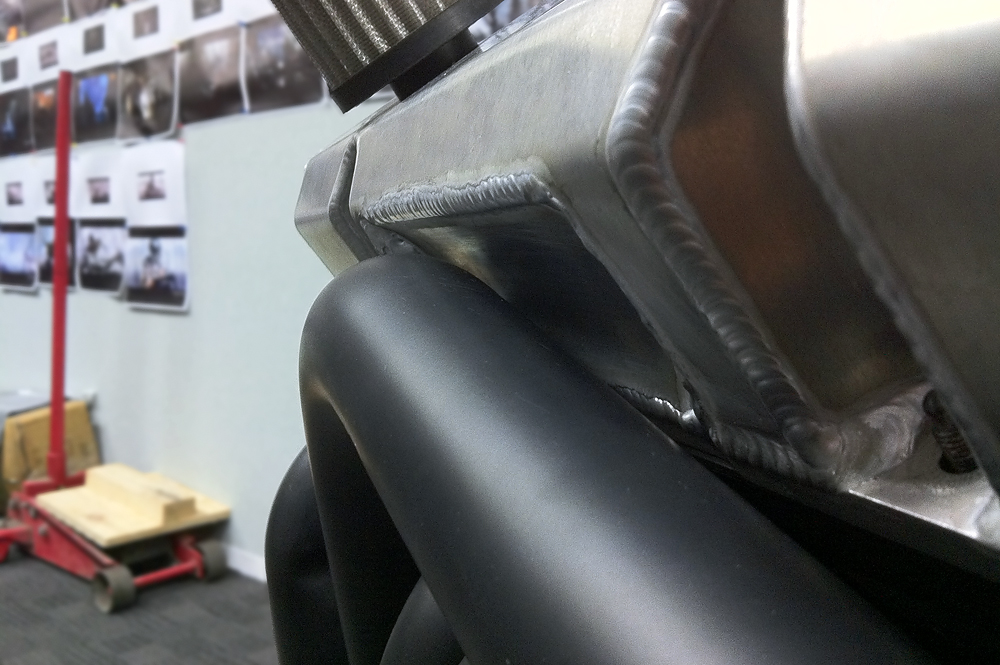
 Fabricated an alloy shroud for the fans, and just starting the wiring of the run stand.
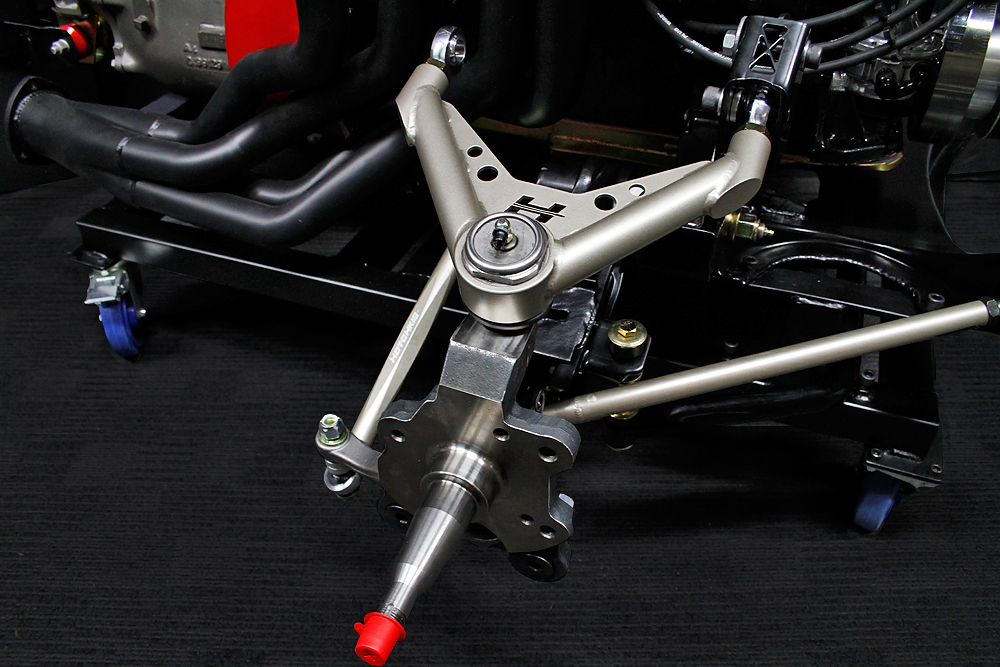
 Finished lower control arms. Reinforced, sway bar brackets added, powdercoated, with Firm Feel heavy duty greasable pins and nylon bushings.
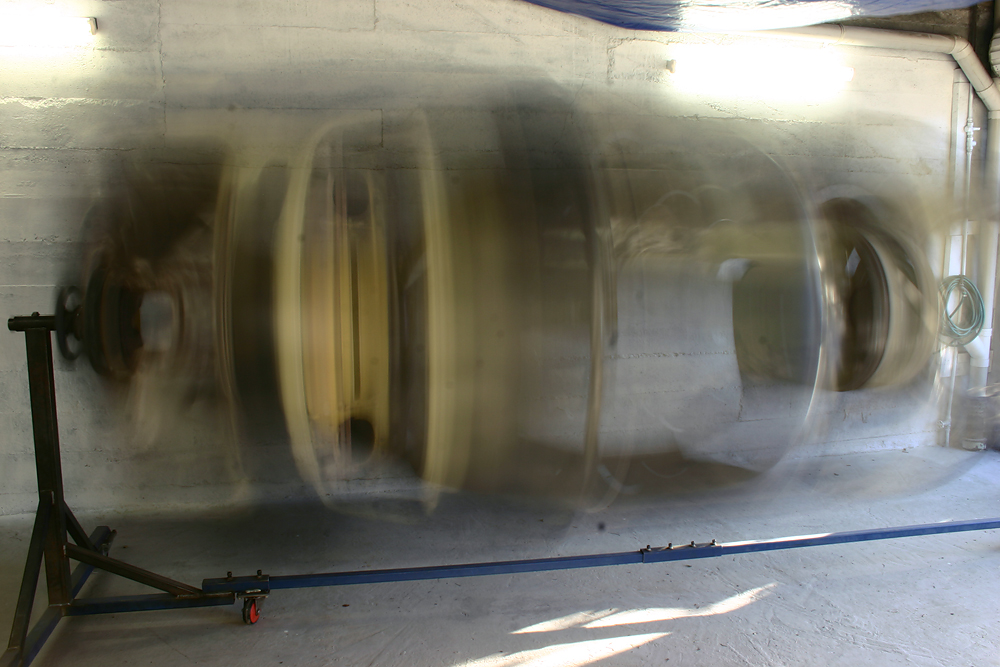
 Lots of fun to spin the shell around.


Tuesday, November 22, 2011

Friday, November 11, 2011
Garage


Saturday, November 5, 2011

Friday, October 28, 2011
Something Fishy

Friday, October 21, 2011
Little details

Tuesday, October 18, 2011

Monday, October 17, 2011
Rollbar


Sunday, October 16, 2011


Friday, October 7, 2011

Thursday, October 6, 2011
Engine run stand


Monday, October 3, 2011


Subscribe to:
Posts (Atom)